Posts

Showing posts with the label repurpose

Thankfully Autumn DIY Idea!

Image
With the household budget so tight this year, I decided to use only the stored autumn decorating items I have on hand instead of purchasing anything new.  The planter used for this photo was simply 2 stacked paper mache pumpkins glued to a plain wooden box.  All it took to spruce it up for use this year were a few leaves snipped from a fall garland, a seasonal greeting card front and a little glue.  I may even add a strand of fairy lights later!  If you like the greeting card I chose to use, you can find it along with many others suitable for Autumn decorating from September through the Thanksgiving season.  I think I also might try this with a few silk poinsettias and small fake evergreens for my Christmas decorating, too!  

Makeover for a Plastic Serving Tray

Image
If you have an old plastic serving tray that may be a bit scuffed up but is not cracked and is still usable, here's a fun makeover project to give it a whole new look!  For this project, my favorite well used clear plastic tray was the ideal choice for a makeover.  Here's a step-by-step tutorial on how I was able to use craft paint, fabric cut from a fat quarter and a few basic supplies to complete the project and hopefully put this tray back in service for several more years.  Feel free to modify this project to suit the size and shape of your plastic tray.  You can also  easily  match paint colors to your choice of fabrics and then paint tray edges with any design you have in mind.  I used handpainted stripes for this tray, but polka dots, tiny flowers, flourishes, vines, etc. would also look simply amazing on any finished tray.  I can't wait to see what YOU can come up with to renew your own tray to use for serving your guests in style! 

Paint it Tropical on Plastic Drinkware

Image
  I've made numerous attempts to successfully hand paint scenics on plastic cups and dinnerware to make them both safe and durable to use.  In most cases, the paint faded quickly or gradually chipped off even though it was sealed.  Unlike glass paint, you can't bake the paint on in the oven!  I then discovered how to preserve the art and make it dishwasher safe by using several coats of Mod Podge as a sealer.  Not only does it do an exceptional job, but the sealed colors remain as bright and vibrant as the day they were originally painted despite time and heavy use.  I recently cleaned out my summer stash of plastic drinkware to get ready for the season ahead.  Several glasses and cups were just a bit scratched but not cracked so I decided to try painting them for a fresh new look.  Here's my tropical plastic stemware step-by-step project and I hope you'll give it a try!  The scenes were painted "freestyle" without a pattern but you can use a light pencil to d

15 Recycled Greeting Card Ideas

Image
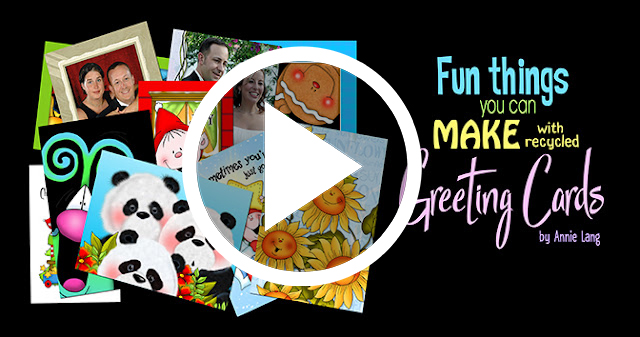
Today I'm getting ready to mail out this year's greeting cards to friends and family.  I thought this would be the perfect time to reshare this " 15 fun things you can make with recycled greeting cards " project ideas post for you just for fun.  Wondering what to do with all those wonderful greeting cards you've been saving up?  Here are 15 fun DIY ideas anyone can try and I hope you'll share this fun video with your creative friends and family.   All the pictured sample crafts were created with 5" x 7" cards printed on heavy cardstock with a gloss finish.  I'm sure many of these ideas can be easily adapted for use on  cards of various sizes, so go ahead and enjoy your creatively recycled cards!

FREE Bottled Up Bug Keeper

Image
It's a fact that kids find bugs fascinating and this Bug Keeper DIY recycle project is the perfect way for them to keep those bugs under observation.   Older kids will most likely be able to handle this on their own, but supervision may be required for younger children.  This free how-to project only requires a plastic 2 liter bottle,  4" square of nylon mesh screening, a chenille stem, paint pens, 3" sinamay hat, ribbon or felt strip embellishment, glue and scissors to complete.  Here are the step by step how-to instructions along with the face template for the pictured Bottled Up Bug Keeper! NOTE:  You can find sinamay hats at most craft supply stores or just click here to order from Amazon . To download this full size template, right click and SAVE to your computer

6 Ideas for Pringle Cans!

Image
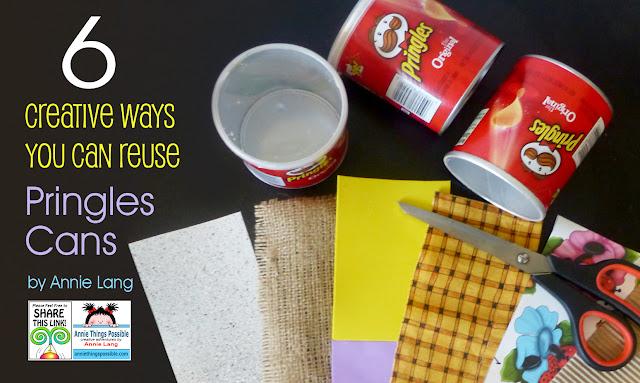
Here's 6 fun ideas to turn those empty Pringles snack cans into fun and useful items you can make in no time at all!  Enjoy...

RECYCLE THE FUN

Image
Wondering what to do with all those wonderful greeting cards you've been saving up?  Here are 15 fun DIY ideas you can try to get you started.  Enjoy this fun video and Happy Greetings!

PAINT IT SNOWY

Image
Digitally design before you paint by using your image editing program.   I use Adobe Photoshop.   Use a tape measure to get the height and width measurements to size your digital canvas Create a white layer over the background and a duplicate layer of your background image   I chose a blue color overlay but you can change this to anything you'd like to suit your design I always save a copy of each design layer I may want to use for future projects! I also created a cardinal and a Santa design before deciding to use this scenic for my project Digital designing allows you to group elements so you easily position them any way you'd like. I prefer to use my line art as a guide, but you can transfer directly onto your prepped surface. Make sure you remove any dirt or rust areas with steel wool before priming with your basecoat. I'll most likely be using this finished project as a small centerpiece filled with holiday greens.  However, I also

SUNNY D IDEAS

Image

K-CUP PARTY HAT

Image
If you've got K-Cups...You've Got Party Hats! Easily recycle or repurpose your k-cups and craft them into clever little hats you can use for a variety of events. The photo sample shows a simple brim made from a round woodlet, but you can use foam, felt or cardboard if you'd like.  Use black K-Cups to make cute top hats or paint them with bright colors and add lace, beads or other trims to create adorable little bonnets!  Here's how I made the sample project... 1.  Peel the foil lid off of a used K-Cup. 2.  Remove the grounds.  You can recycle them by mixing into your garden soil! 3.  Most k-cups have an inner filter lining so just pull it off. 4.  Most of the quality coffee brand cups have a plastic strainer.  I paint them and use as craft embellishments.  They make great dimensional  "owl eyes" or flower centers when you glue gemstones or felt circles to the center hole! 5.  Apply craft glue around the top edge of the k-cup and attach it to the cent