Posts

Showing posts with the label crafting

Designing means New Fabrics!

Image
As of January, Spoonflower has just stepped up the game when it comes to fabric designs by the independent artist community!  Artists no longer have to purchase sample fabric proofs, wait for them to arrive by mail and once approved, offer them for sale through the Spoonflower website.  Artist can now use Spoonflower's online digital proofing tool to detect any design flaws and resubmit revised files to make them immediately available for sale to the public.  This most definitely provides a bit of financial relief for independent designers with limited budgets and helps better detect problematic design issues that may have otherwise gone undetected.  To read more about how changes at Spoonflower impacts artists, here's a very well written article by Craft Industry Alliance   that you should check out.  The Designing Process Back in the early 90's, I was offered a unique opportunity to work with the Balson-Hercules Group (later became Balson Erlanger) who licensed my design

Butterflies are flying FREE!

Image
Here's a fun line art pattern you'll use over and over again!  Just print, trace and transfer the design onto any creative surface and paint or color any way you please to suit your creative project.  You'll find this design and many more on Annie Lan'g DIY website page.  Download Annie Lang's Americana Butterfly pattern for FREE right now and let's get flying because Annie Things Possible when you DIY!

Craft a Rag Wreath with Scrap Fabrics

Image
It's a gloomy day.  It's too cold for outdoor activities.  You're bored and restless. You head to your craft supply shelves.  You discover a stash of scrap fabrics.  You also notice that wire frame you picked up from the Dollar Store.  You grab a pair of scissors and head for the table with your coffee and supplies and turn on your favorite music playlist.  Before you know it, you have made a whimsical wreath.  Hope you'll try out this traditional craft and experience the joy of creating a handmade treasure! 

Time for a Change of Scenery!

Image
  Now that I've changed out my calendar to start a new year, I decided to repurpose my beautiful 2021 scenic calendar so I can continue to enjoy the art any time I want.  Here's a fun little project you can easily complete in a day.  So grab your favorite beverage and a few craft supplies and let's make something fun! You'll also need some rags for staining, a pencil, scissors or craft knife,  something to make a door handle (I used a decorative upholstery tack) and 1/4" double sided foam tape to make a pocket to hold interchangeable artwork behind the framed window on the door.  To begin, lightly sand the wood and apply 2 coats of white basecoat paint.  When dry, put some wood stain on a rag and drag it down from the top of the door down to the bottom, creating the look of streaked weathered wood.  Paint the front and back of the window panel with white.   You'll find this wood door plaque in assorted sizes from cdwood.com

Invite a Turkey to Dinner!

Image
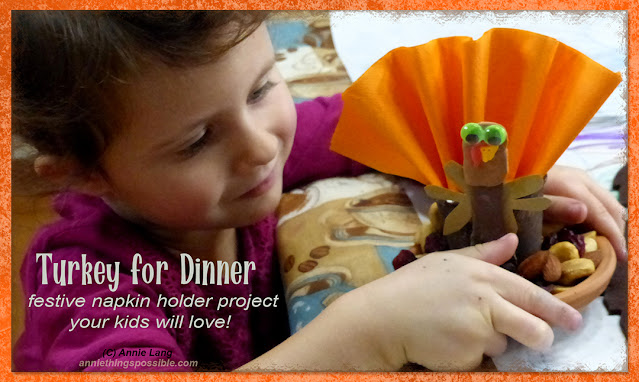
As one of my favorite holidays approaches, it's time to start planning our Thanksgiving feast.  This year, I had a little help from my 4 year old granddaughter who helped create turkey napkin holder place settings for each guest.  With a few basic supplies and a sky filled with blustery snow flurries, we completed this project together and had a lot of fun chatting about our many family blessings.  So go right ahead and invite a turkey to dinner this year.  I hope you'll give this fun project a try and enjoy the smiles! 

PUMPKIN CRAFTS WORTH REPEATING!

Image
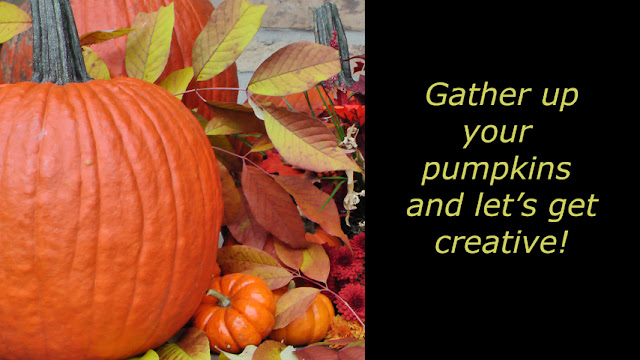
There's a chill in the air as the calendar page turns and the pumpkins come out! In case you missed it... here's a fun post from my 2013 BLOG   I'm sure you'll enjoy if you haven't already seen it.  All month long I'll be sharing fun pumpkin projects, "JOLLY JACKS" themed posts and fun autumn themed features to keep you smiling throughout this festive season. AUTUMN SMILES, EVERYONE!

Country Autumn Screen Door Craft

Image
Anyone can paint up this fun DIY wood project to decorate any way you wish for any season of the year!  Here's the basic step-by-step project to get you inspired to welcome the Autumn Season.  So grab your craft supplies and get started...no pattern needed!  You can find the  10" x 20" Door with Panel Kit used for the sample project online from Cupboard Distributing (also comes in smaller sizes!)  Just click the images below to see full size how-to instructions. Please Enjoy and feel free to SHARE THIS PAGE LINK!

8 Wooden Ladybug Craft Ideas

Image
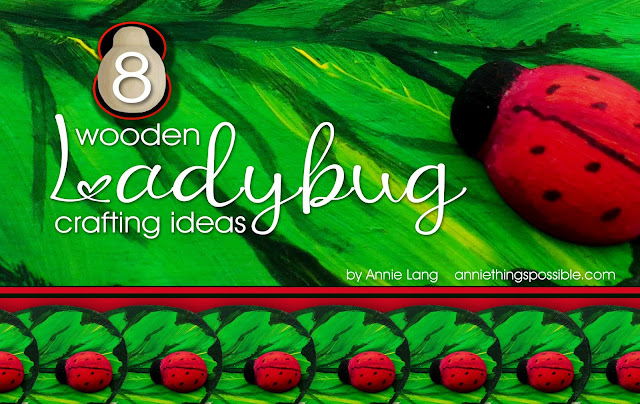
Looking for quick and easy crafting ideas that anyone can make?  Here are 8 fun ideas that will trigger your imagination and keep you smiling!  You can buy  wooden ladybugs that are already painted, but it's more creative to paint them up yourself with any color imaginable.  I purchased the 3/4" wooden ladybugs shown and the and mini woodlet sign and bug shape online from Woodpeckers Crafts and the wooden laser cut butterfly wings from Factory Direct Crafts .  Paints and other supplies used were items I already had on hand in my craft room.  So let's get started!   Glue some moss onto a wood slice round.  Set your votive in the middle and then glue  a  circle of ladybugs onto the moss around the votive base. For my wooden ladybug sample projects, I used true red and black as my base colors.  I also blended just a touch of yellow onto the center of the ladybug bodies to make them "glow" just a bit brighter before adding the dots and patterns to complete each

Holiday Christmas Mouses!

Image
The Christmas Holidays will be here soon so do you know where your House Mouses are!  Watch this NEW line art pattern book trailer to get a look at what you'll find in this publication.  Christmas Holiday House Mouses pattern book is now available in paperback and downloadable .pdf editions at Annie Lang's Book Store .  Ready to use clipart collections are also available for the book characters at Annie's Creative Market Store!

GARDEN FLOWER HAT

Image
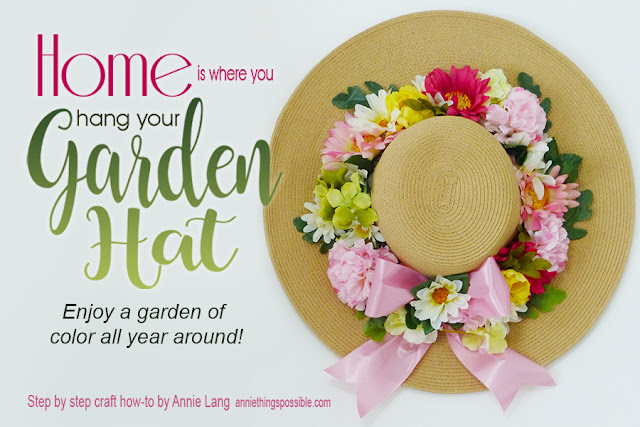
Home is where you hang your hat so here's how you can jazz up an old straw hat in no time at all with items you may already have on hand!  The pictured project was made with a straw beach hat I had tucked in a closet and had long forgotten.  The silk flowers were purchased off season at a local department store and I used a cardboard ring cut from a shipping box to attach them to the hat.  You can attach the flowers right onto the hat, but if you want to easily change them out with seasonal colors, you can simply remove the cardboard ring and use the same hat all year around.  Whether you hang it on the door, wall or garden fence you'll find this craft quick, easy and so very fun to make.  This is a project that's been around crafting circles for decades so it's absolutely timeless!  Enjoy... SUPPLIES:   You'll need a straw hat, silk flowers and leaves with stems removed, cardboard cut into a wide ring to glue flowers to (optional), glue gun, ribbon color of

6 Ideas for Pringle Cans!

Image
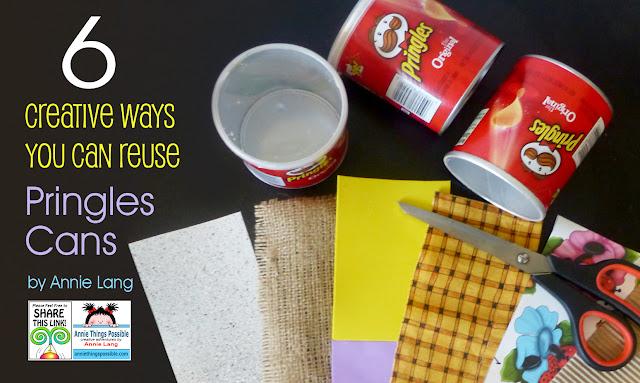
Here's 6 fun ideas to turn those empty Pringles snack cans into fun and useful items you can make in no time at all!  Enjoy...

PEBBLES AND GLUE

Image
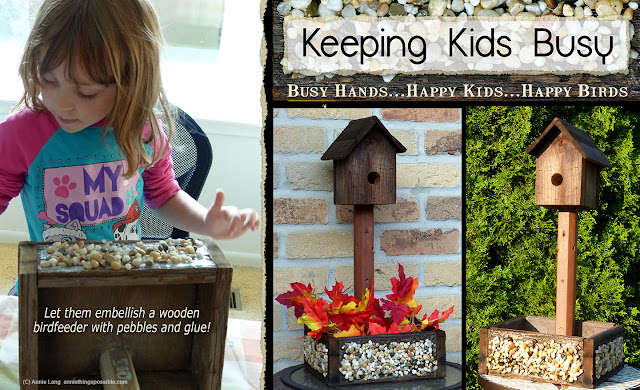
A trip to Grandma's house always includes at least one fun learning activity and here's a simple project anyone can do together with preschool age kids.  All you need is a handful of pebbles, a bottle of Tacky Glue and a surface like wood or paper mache.  I just happened upon this rustic handmade birdhouse feeder while visiting a local cider mill and it turned out to be the perfect surface for our activity of the day. I began by first applying a coat of Thompson's Clear Wood Sealer to the entire surface and allowing it to dry overnight.  The next day, a pile of pebbles was placed onto our work surface where my granddaughter could select which ones she wanted to use on the birdhouse feeder. A plastic knife was the perfect tool for spreading a thick coat of Tacky Glue onto the wood area to be embellished. Pebbles were placed one by one onto the glue and gently pressed down into place.  Not only were her little fingers kept busy for an hour, but she was more than able to s

ABC's in a SNAP

Image
Chances are most preschoolers already know the "ABC" song. But when it comes to identifying individual letters out of sequence, they may experience a little difficulty associating the correct letter with a "sound alike" word. While my preschooler granddaughter was visiting, we came up with a fun activity which involved both of us taking snapshots with our digital cameras.  I had her find "alphabet treasures" that we could take photos of as we walked around the house and yard and we snapped away!   In about an hour, we had all the photos we needed so we sat at the computer together and unloaded the digital file that we would save.  I let her be the decision maker as to which ones we wanted to use for her book.  Thus ended the first phase of our project and we then moved on to making lunch! When she returned a few days later, Maryann found that each photo had been placed on a digital document (most likely by the digital fairy!) which featured each lett

BRIGHT PUMPKINS

Image
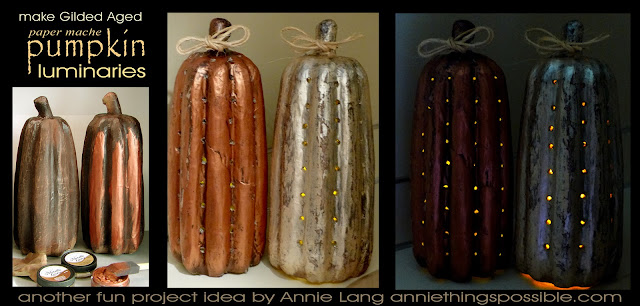
While unpacking my autumn decorations, my 3 1/2 year old granddaughter stumbled upon some paper mache pumpkins I painted several years ago and immediately fell in love with them.  So off to the patio we went, armed with 2 painted pumpkins, a drill for me and a stub handled Phillips-Head screwdriver for her.  It was the perfect late summer day project for us as we chatted about the seasonal changes that were coming in the days ahead.  I drilled the holes and she poked the screwdriver into each one to even out the edges.  Little did she know that I was enjoying spending some quality time with her while she was working on fine motor skills as she concentrated on completing her task. The creative payoff extends far beyond the finished rewards of making fun usable items with your kids, grandkids or students.  They not only learn to focus as they complete the task at hand as you talk about things like shapes, color and imaginative uses for repurposing items, but it's always a thrill wh

HATCH SOME EGGS

Image
Here's 3 fun little Springtime egg characters guaranteed to make you smile! They also make great basket stuffers,  Baby Shower decorations and Mother's Day gifts. Feel free to share this page link with your friends and family so they can get creatively inspired, too.  To download the patterns at the bottom of this page, right click and save image to your computer. Supplies: 4 1/2" paper mache egg for each featured character sponge brush for basecoating assorted brushes and liner brush 3"x3" scrap of white watercolor paper for bunny ears adhesive to attach bunny ears to the egg transfer paper Assorted Acrylic Craft Paints   as follows... Funny Bunny Hatchling:  white, black, baby blue, true blue, pink, burgundy, spring green, true green Happy Chick Hatchling:  bright yellow, light yellow, orange, burgundy, white, lavender, dark purple, pink, spring green, true green, black Peeper Hatchling:  bright yellow, light yellow, orange, pink, burgundy, white,

RECYCLED GREETINGS

Image
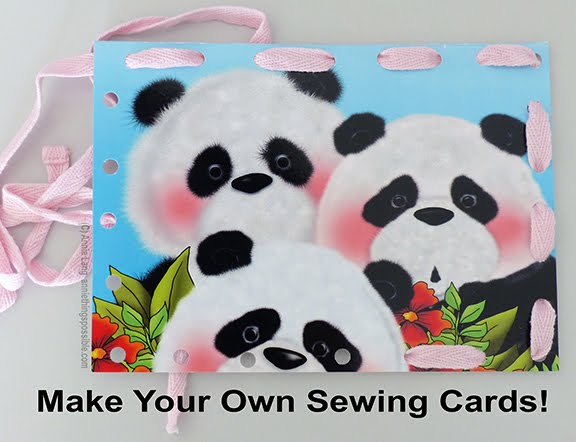
If you save your greeting cards and need ideas for what you can do with them, I have a Pinterest Board you may enjoy!  In case you missed the original BLOG posted last year, just CLICK HERE!  Card projects are a perfect creative adventure for those long winter days...ENJOY!